![]()
OK, so I had been told that if you wanted to install Koni’s into your car you had to do a bunch of weird stuff to your existing struts before you could put the strut in. But nowhere is this documented, examples and documentation existed for installation of coil overs, the process of getting the inserts in, is a bit of a pain, and nothing like some pictures seem to help me get started with a task, so with any luck they will help you.
A bit of history, I got my M3 with 59K miles, stock suspension’well, the car felt great, but after one driving school, and a bit of autocrossing, there was no more denying the fact that it was overdue for new bits. So, a few calls around to my local Mechanics, learned me that the install was going to cost around $600 that seemed like a lot of money for just some ‘simple wrenching.’ But the unknown difficulty of doing the strut inserts was holding me back. So I got a set of H&R Coilovers, no special work required, just basically bolt them into the car. Installation was very easy using the instructions written by Scott King. However, I didn’t like the ride’.Alas, we can’t all live where the roads are glass smooth, and there are no expansion joints on the highway. So I found my self well versed in suspension installs with the stock struts in a box’So Koni’s are the next thing to try. The desired setup being Koni Sports and H&R Sport OE height springs. And with that the Koni installation began
Time Required
I like to work slowly and look at things for a while before I do them, this usually makes it take a fair amount longer. Once I have done it the first time, out comes the impact wrench for some speed. But the first time always takes so much longer. It took me about 5 hours to get it all sorted out including a stop to eat some dinner. This assumes that the parts are all out of the car. If I had to do it again, I suspect it would take about 2 hours, the second strut took about 45 minutes.
Tools Required:
- Corded Drill
- 1/8’ Drill Bit
- 15/32” Drill Bit
- Round File(smaller than 15/32)
- Cutting Oil
- Hack Saw
- Spare Blades
- Tape ‘ Masking or Duct
- Paper Towels ‘ LOTS
- WD-40
- Bench Vise(attached to a bench)
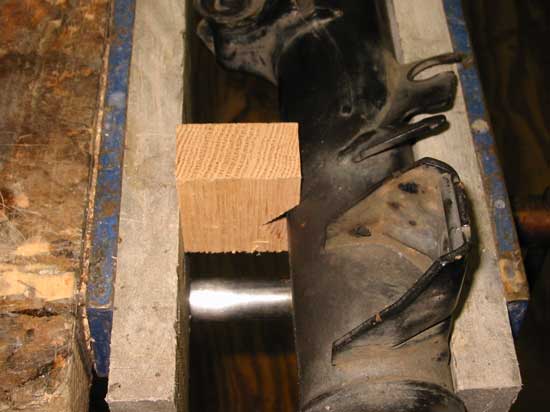
- A block of wood for clamping the round exterior of the strut
Tools Helpful:
- Drill Press - Careful not to crush the strut housing in the clamps, I used wooden pads on the clamp jaws, and the minimum pressure to hold the strut steady.
- Crazy Clamps to hold strut in drill press
The instructions that came from Koni, are well, terse to say the least. If you count the brand name there are 2 words total. Take a look for yourself
Steps
Step 1 - remove the strut
Um, start undoing stuff!
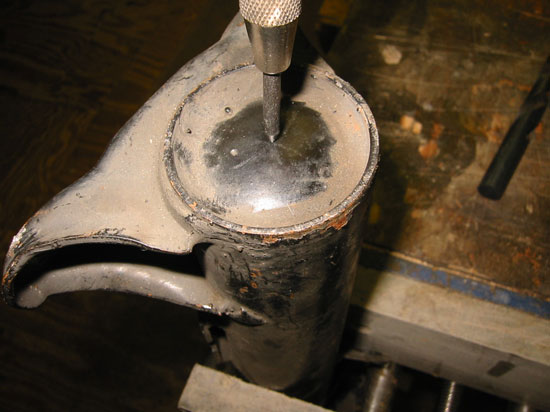
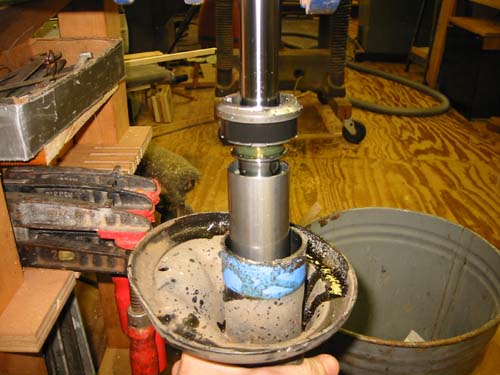
Step 2 - Center punch the bottom of the strut.
The bottom is convex, so you need to do something to keep the drill bit from skating all over the surface. You are going to drill a hole in the bottom so that the gas pressure that is inside the strut is released. If you don’t do this I suspect that oil would spray out during the hack sawing phase rather violently. Make this as close to the center as you can as the subsequent hole that we will drill on step 6 is going to use this hole as a guide. Within a 1/16th inches is more than accurate enough.
Step 3 - Release the gas pressure
I used a 1/8 drill bit, a bit bigger than the 3mm suggested. Wear Safety Glasses for this step. When you finally get the drill bit to puncture the bottom of the strut you are going to hear and see a PSSST of gas escaping, and my glasses had a nice couple drops of oil on them

I didn’t get sprayed but some oil came out when i did this, but driller beware.
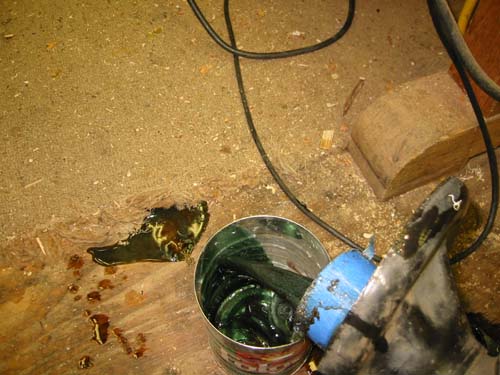
After you have drilled the hole, clean off the bottom of the strut, and cover the open hole with some tape. I used some masking tape, this came off during the second strut when I moved the piston and sprayed oil some 6 feet across the work shop. So, as with everything…Careful.
You could also use this to your advantage and effectivly milk all the oil out of the strut by actuating it a couple of times over a can until the strut is mostly empty. If there were a third strut I would have done that.
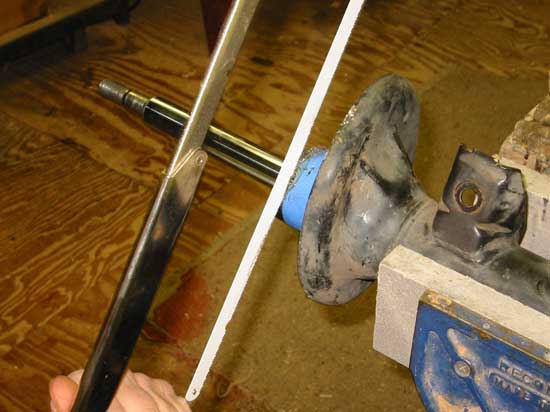
Step 4 remove top of strut
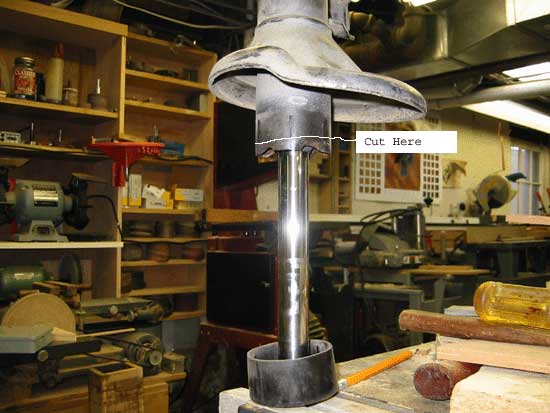
Cut of the top of the strut. I marked where I wanted to cut the top of the strut by wrapping some tape around the strut. Before I could do this I had to remove the dust cap. If you cut off too little material you will get to cut the top of the strut twice.
You want to cut off roughly 1/8 inch below where the top of the strut curves over.
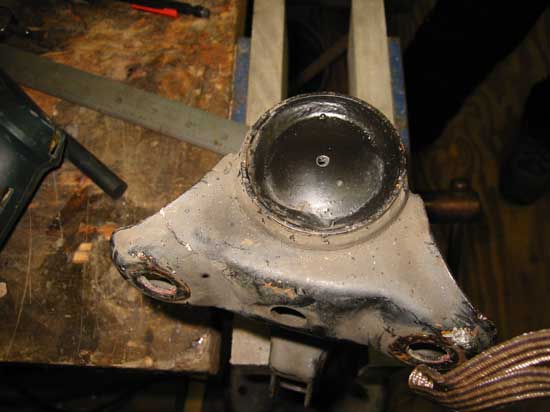
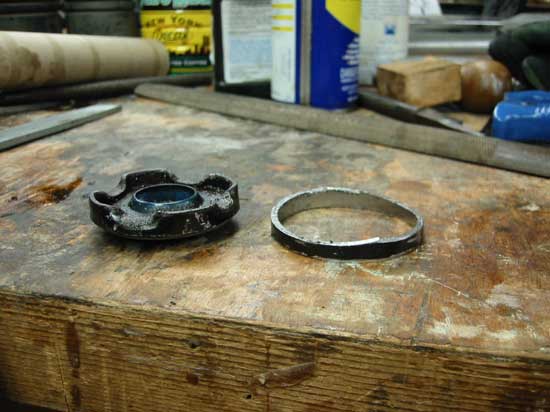
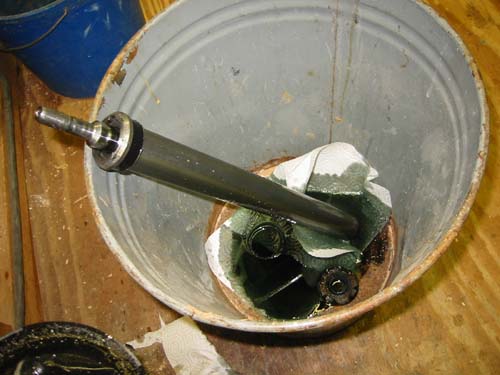
Step 5 remove the guts
Once you have cut the top free the insides will slide out fairly easily. However, keep in mind that there is a lot of oil in there, and when you pull out the strut insert, it pulls a lot of the oil out with it. Once you have the insert out, pour the oil into a can, mine contained roughly 1.5 inches in the bottom of a coffee can. I didn’t find the hammer necessary to pull the innards out.
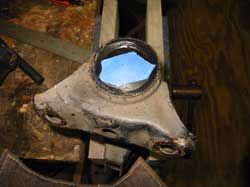
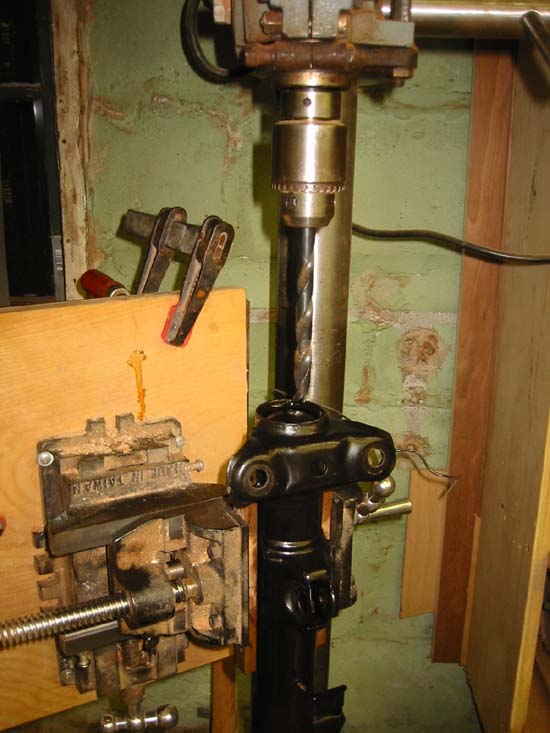
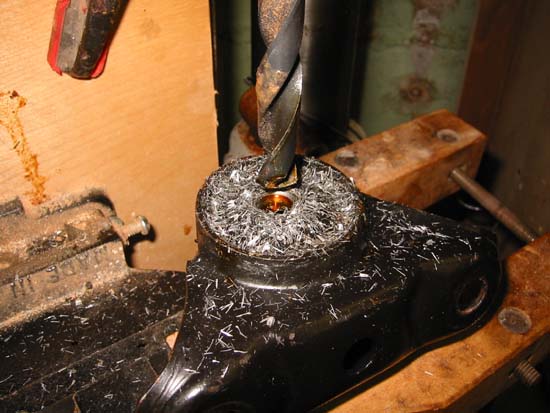
Step 6 Drill bolt hole
Drill a hole in the bottom of the strut. The instructions indicate that the hole should be 14mm. I used a 15/32 drill bit which is slightly smaller than 12mm. I then used a round file to make the whole line up with the bottom of the strut. Cutting oil was key, I don’t know if the drill press was necessary, it took a lot of setting up and I think working in a vice with a corded drill would work equally well. If you make the smaller hole, then insert the strut, you just file the extra metal out of the way from wherever needed to allow you to thread the retaining bolt.

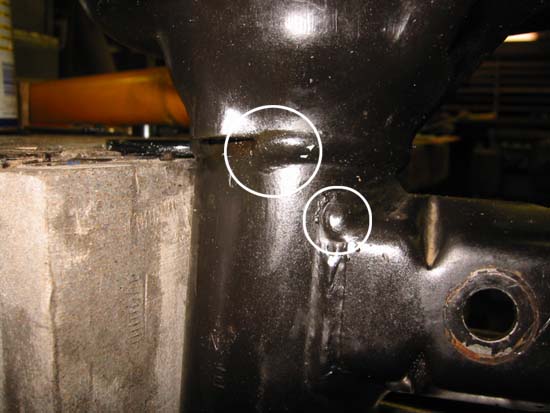
Step 7 - make the strut fit aka remove a the bump on the inside of the strut that prevents the insert from fitting.
Some people have reported that the strut housing on their cars, either due to replacement or some other unknown reason has turned out to be as much as 2mm smaller than the insert. The amount of filing I had to do was only due to a bump inside the housing, it was not a lot of metal, just very awkward to get to as it was deep inside the housing. I called koni prior to my install to determine if I might have a fitment issue, and they denied any such problem existed. The same has been heard from TCKline. So, if you run into this problem, Dinan stocks 2 sizes of Koni’s and would certainly fedex you the parts. :)
The instructions indicate that this is not necessarily required. I had to do it on both struts, however the second was much smaller than the first. The bump that was preventing the strut from sliding in easily appeared to be the result of the welding of the spring perch onto the strut housing.
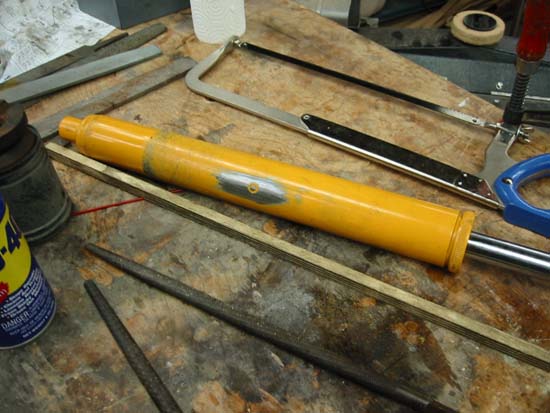
I tried all manner of things to get rid of the excess metal, in the end nothing really beat the half round file. I would work away at the perceived high point for a while, and then insert the strut gently and wiggle it around at the point it would stick-scraping yellow paint off of the strut onto the inside of the housing. This marked the high points which I then worked away at. I kept cleaning out all of the metal filings with WD-40 during the process to keep little bits of metal from preventing the insert sliding in easily.
This step was no fun. The high point is just down where you can barely reach it. I also found that there where orientations that the strut wanted to be inserted in, it is just a very tight fit, so be patient. I actually navigated my second strut down into the housing twisting left and right while inserting it, I presume matching the low points on the insert with the highpoints on the strut housing. This was the least satisfying step, and thus felt like the longest. :)
Possible Bump Sources:
Step 8 - Insert Insert
This step is all you can think about during step 7. When you get here you are practically done. So take your time on step 7.
I found it helpful to file the strut a little bit, just to get rid of the high point around the rivet.
Step 9 - bolt the bottom of the insert
I drilled a smaller hole than suggested by the directions(primarily because that was the largest drill bit I had). Once I had the insert sliding in and out fairly easily I opened the hole so that I could clearly see the threads on the bottom of the strut using a round file. Then put the bolt in with the locking washer and metal spacer and torque to 63 ft/lbs. Return to step 1 with other strut, repeat as needed.
If after all this you want to see some more pictures, all of them are here
Cheers,
Noah Paci
Feel free to ask me questions at noah dot paci at gmail dot com